
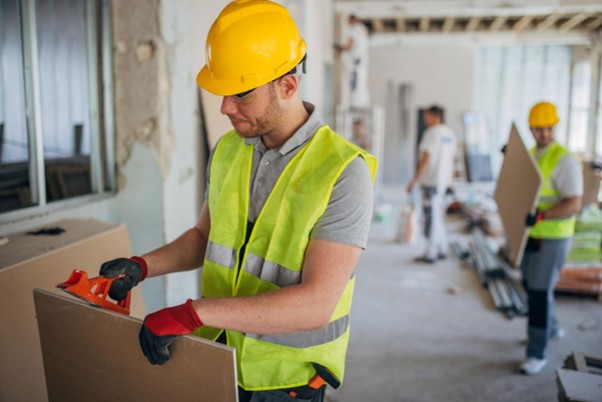
Drywall installation has become an essential part of modern construction due to its speed, cost-efficiency, and clean finish. From residential homes and office interiors to commercial buildings and renovation projects, drywall systems are widely used for creating walls and ceilings quickly without traditional brick-and-plaster methods.
As construction practices continue to evolve, drywall installation is gaining popularity because it simplifies interior construction while offering flexibility in design, insulation, and maintenance. Whether you are a contractor, site engineer, architect, or property owner, understanding drywall installation is important for achieving better project execution and long-term performance.
What Is Drywall Installation?
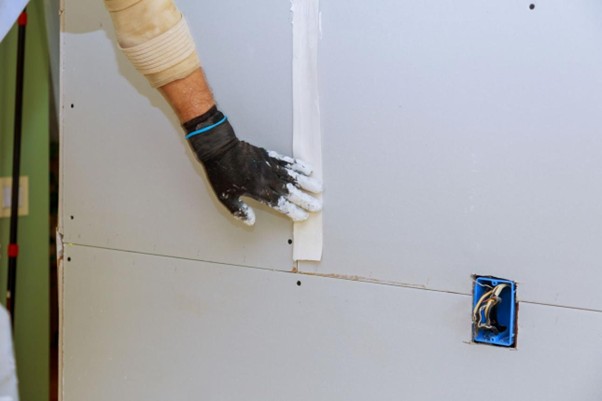
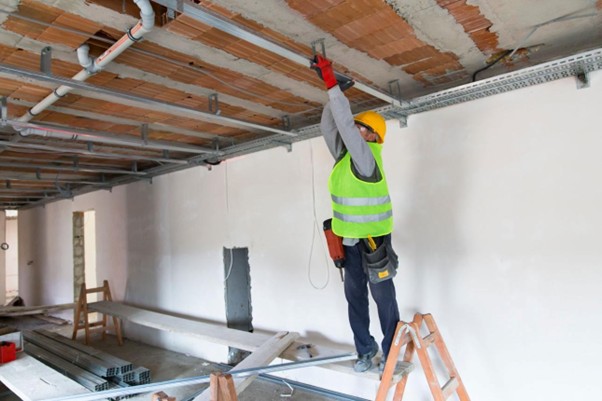
Drywall installation refers to the process of fixing prefabricated gypsum boards or plasterboards onto framing systems to create interior walls and ceilings.
Drywall panels are usually made from:
- Gypsum core
- Paper facing or fiberglass covering
These boards are attached to:
- Metal framing systems
- Wooden studs
After fixing the boards, joints are taped, finished, and painted to achieve a smooth surface.
Drywall installation is commonly used in:
- Residential buildings
- Commercial offices
- Hospitals
- Hotels
- Retail spaces
- Industrial interiors
Why Drywall Installation Is Popular in Modern Construction
Traditional wall construction methods consume more time, labor, and material. Drywall installation offers several advantages that make it suitable for fast-paced modern construction projects.
Major benefits include:
- Faster execution
- Lightweight construction
- Smooth wall finish
- Reduced structural load
- Easy maintenance and repair
- Better fire resistance
- Improved acoustic performance
Because of these advantages, drywall installation has become a preferred solution for interior partition systems.
Types of Drywall Used in Construction
Different projects require different drywall specifications. Understanding the types helps in selecting the right material.
1. Standard Drywall
This is the most commonly used drywall for regular interior walls and ceilings.
Features:
- Economical
- Easy to install
- Suitable for dry areas
2. Moisture-Resistant Drywall
Also known as green board.
Used in:
- Bathrooms
- Kitchens
- Utility areas
This drywall resists humidity better than standard boards.
3. Fire-Resistant Drywall
Designed for areas requiring higher fire protection.
Common applications:
- Staircases
- Commercial buildings
- Server rooms
4. Soundproof Drywall
Used to reduce sound transmission.
Ideal for:
- Offices
- Conference rooms
- Hotels
- Home theaters
5. Mold-Resistant Drywall
Specially designed to prevent fungal growth in humid conditions.
Materials Required for Drywall Installation
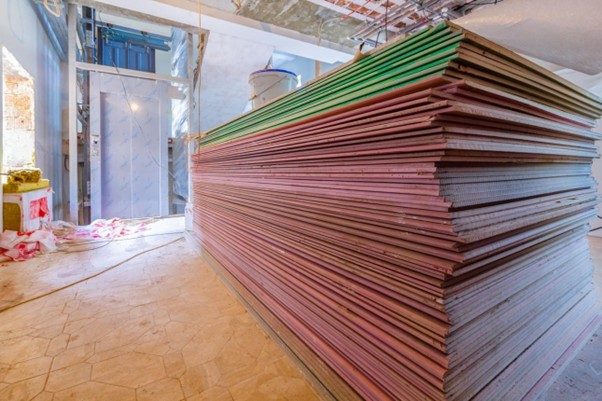
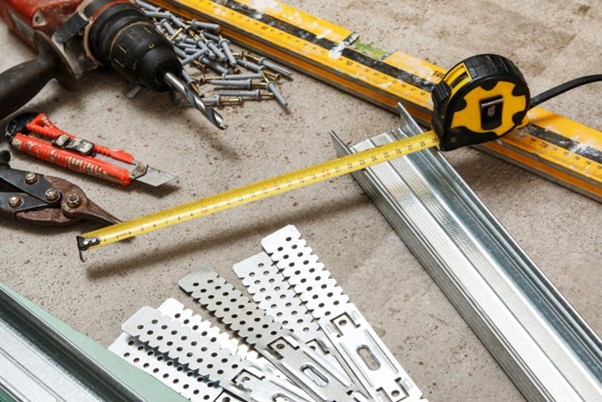
Drywall installation requires several materials and accessories for proper execution.
Key materials include:
- Gypsum boards
- Metal studs or wooden framing
- Drywall screws
- Joint tape
- Joint compound
- Corner beads
- Insulation material (optional)
Proper material selection directly affects durability and finishing quality.
Step-by-Step Drywall Installation Process
Understanding the installation process helps ensure quality execution.
Step 1: Site Preparation
Before drywall installation begins:
- Check wall and ceiling dimensions
- Ensure framing alignment
- Remove dust and obstacles
- Verify electrical and plumbing work completion
Proper preparation prevents rework later.
Step 2: Framing Installation
The framing structure acts as the support system for drywall boards.
Common framing options:
- Metal studs
- Wooden studs
The frame must be:
- Properly aligned
- Securely fixed
- Level and plumb
Incorrect framing can lead to cracks and uneven surfaces.
Step 3: Measuring and Cutting Drywall Sheets
Drywall boards are measured according to wall dimensions and cut using specialized tools.
Careful cutting is important to:
- Reduce wastage
- Ensure tight fitting
- Improve finishing quality
Openings for:
- Doors
- Windows
- Electrical boxes
must also be marked accurately.
Step 4: Fixing Drywall Panels
The drywall sheets are attached to framing systems using screws.
Important considerations:
- Maintain proper screw spacing
- Avoid over-tightening
- Ensure board alignment
This stage forms the primary wall or ceiling surface.
Step 5: Joint Taping and Finishing
After fixing panels:
- Joint tape is applied between boards
- Joint compound is spread over seams and screws
- Multiple coats may be applied
Proper finishing ensures:
- Smooth appearance
- Crack resistance
- Better paint finish
Step 6: Sanding and Surface Preparation
Once the compound dries:
- Surfaces are sanded evenly
- Imperfections are removed
This prepares the wall for:
- Primer
- Paint
- Wallpaper
- Decorative finishes
Conclusion
Drywall installation has transformed modern construction by offering a faster, cleaner, and more flexible alternative to traditional wall construction methods. From residential interiors to commercial spaces, drywall systems help improve construction efficiency while delivering smooth finishes and functional performance.
Understanding the complete drywall installation process—from framing and board fixing to joint finishing and painting—is essential for achieving high-quality results. Proper material selection, skilled workmanship, and correct installation techniques play a major role in ensuring durability and appearance.
As construction projects continue to prioritize speed, lightweight systems, and modern aesthetics, drywall installation will remain a key component of contemporary building practices. Whether for new construction or renovation projects, drywall systems provide a practical and efficient solution for modern interiors.
Subscribe to my channel on YouTube to gain access to a wealth of knowledge and expertise that can elevate your understanding of Real Estate, project management concepts, & Construction.
Related Articles: Construction