 Plastering concrete surfaces is a crucial aspect of construction that involves applying lean mortar to enhance both the aesthetic appeal and structural integrity of the surface. This comprehensive guide explores the methods and procedures for plaster concrete surfaces, addressing different concrete compositions and essential safety measures to ensure work quality and worker safety.
Importance of Plastering Concrete Surfaces
Plastering serves multiple purposes in construction projects, including:
- Aesthetic Enhancement: Providing a smooth, visually appealing surface suitable for painting or wallpapering.
- Structural Protection: Offering an additional layer of defense against weathering, moisture infiltration, and mechanical damage.
- Improved Durability: Enhancing the longevity of the structure by reducing surface deterioration over time.
- Thermal Insulation: Helping to regulate indoor temperatures by providing an additional insulation layer.
- Soundproofing: Acting as a barrier against noise transmission, enhancing comfort in residential and commercial spaces.
- Fire Resistance: Adding protection against fire hazards by reducing the spread of flames.
- Ease of Maintenance: Facilitating easier cleaning and repair of walls over time.
Plastering Procedure on Concrete Surface
The plastering concrete process for concrete surfaces follows a systematic approach that ensures a durable and smooth finish. The key steps involved include:
1. Surface Preparation
Proper surface preparation is the foundation of a successful plastering project. The concrete surface must be meticulously cleaned to remove contaminants such as dirt, grease, oil, loose particles, and remnants of old plaster. Any peeling paint and flaking plaster should be completely removed to achieve optimal bonding between the plaster and the concrete.
Key steps in surface preparation include:
- Cleaning: Use wire brushes, scrapers, and water jets to remove debris.
- Wetting: Lightly dampen the surface to improve adhesion.
- Crack Repair: Fill cracks and holes with a suitable filler.
- Surface Roughening: Create a rough texture for better plaster adhesion.
2. Treating with Slurry
Creating an ideal base for plaster adhesion requires applying a cement slurry or dash coat to the concrete surface. The slurry mixture consists of one part cement and one and a half parts coarse sand, blended with water to achieve a fluid consistency. This step provides the necessary roughness to enhance the bond between the concrete surface and the plaster.
Key considerations include:
- Mixture Consistency: Ensure a thick, yet spreadable consistency.
- Application Technique: Use brushes or trowels to evenly coat the surface.
- Drying Time: Allow sufficient drying before proceeding.
3. Mixing of Plaster
The plaster mixture must be prepared with precise proportions of cement, fine aggregates (sand), and water to achieve the desired consistency. The mixture should be used within two hours to maintain its workability and effectiveness. Proper mixing ensures a uniform consistency, which directly impacts the application quality.
Guidelines for mixing plaster:
- Measurement Accuracy: Maintain correct ratios.
- Gradual Mixing: Add water gradually while mixing.
- Storage Precautions: Use the mixture promptly to avoid setting.
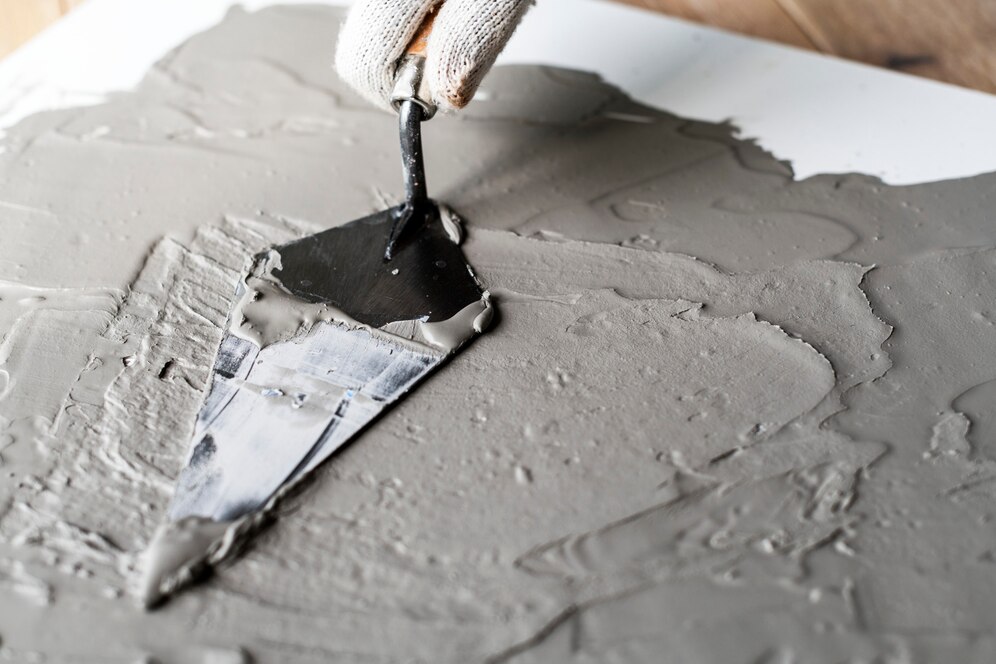
4. Applying the Plaster
Using a steel trowel, the base coat of plaster is applied to the slurry-treated surface in even, small strokes. The thickness of the base coat should range between 10 to 15 mm. If a single-layer application is used, it should not exceed 10 to 15 mm, with a topcoat thickness of 5 to 10 mm. The plaster should be applied uniformly to ensure a smooth and level surface.
Application steps include:
- Layering Technique: Apply multiple layers for better durability.
- Trowel Handling: Use firm, smooth strokes.
- Finishing Tools: Utilize straight edges for even application.
5. Curing of Plaster
Curing is a critical step to achieve durability and strength. After the plaster has set and hardened, it should be cured for a minimum of seven days. This prevents cracks and ensures a long-lasting finish. Once the curing process is complete, the surface is ready for further finishing, such as painting or wallpaper application.
Curing methods include:
- Water Spraying: Light, periodic wetting of the surface.
- Covering: Use plastic sheets or wet cloths.
- Environmental Protection: Avoid exposure to direct sunlight and wind.
Plaster Thickness
The thickness of the plaster varies depending on the surface and bonding agents used. Wall undercoats should not exceed 11 mm, and soffit undercoats should be capped at 8 mm. The finish coat applied over the undercoat should be 2 mm thick. In cases where increased thickness is required, plastering over expanded metal lathing is an option, although it may increase costs.
Plastering on Different Concrete Surfaces
Different types of concrete surfaces require specific plastering techniques to ensure optimal results:
Plastering in Dense Concrete
Dense concrete surfaces pose unique challenges due to their low porosity and smoothness. Adequate adhesion requires:
- Mechanical treatments such as scabbling or shot blasting.
- Bonding Agents: Apply proprietary adhesives to improve adhesion.
- Timing: Avoid plastering until concrete has fully dried.
- Lathing: Use expanded metal lathing to increase mechanical keying.
Plastering on Lightweight and No-Fines Concrete
Lightweight aggregate plastering concrete has different thermal properties and a high-suction surface that can affect plaster adhesion. To overcome these challenges:
- Pre-treatment: Apply PVAC bonding agents or Thistle GypPrime.
- Suction Control: Regulate moisture absorption to prevent rapid drying.
- Mechanical Fixation: Consider mesh reinforcement for additional support.
Plastering on Mixed Concrete Surfaces
When plastering concrete across different materials, differential movement can cause cracking. Solutions include:
- Expansion Joints: Introduce control joints to accommodate movement.
- Bridging: Use expanded metal across varying substrates.
- Knife Cutting: Create deliberate separation lines to prevent cracks.
Conclusion
Plastering concrete surfaces is a meticulous process that demands careful preparation, precise application, and thorough curing to achieve a durable and aesthetically pleasing finish. By following best practices, selecting appropriate plastering methods for different concrete types, and prioritizing safety measures, construction professionals can ensure the longevity and quality of their plastered surfaces.
Whether dealing with dense, lightweight, or mixed concrete surfaces, adherence to systematic procedures and proper protective measures guarantees successful outcomes in plaster concrete applications.
Subscribe to my channel on YouTube to gain access to a wealth of knowledge and expertise that can elevate your understanding of Real Estate, project management concepts, & Construction.
Related Articles:
Real Estate